Digital Signage Editing Primer
Glossary
- Display: A screen to display content
- Display ID: A unique code to connect a display player (Chrome OS app) to the system.
- Presentation: A collection of content organized in a visual editor to be shown on a display
- Placeholder: A container for widgets such as images or text.
- Widget: A piece of content or container for multiple items of content.
- Gadget: No idea the difference?
- Schedule: Govern what and when presentations are displayed
- Playlist: A list of presentations to cycle through
Step-by-step guide
Sign in
- Navigate to http://www.risevision.com/
- Click on the Sign In button

- Login with your SWSD Google account (your account will already be linked to our system by your building tech. If not, please contact them to get permissions)
First time login:
- Allow Rise Vision to access your basic Google account details (who you are)
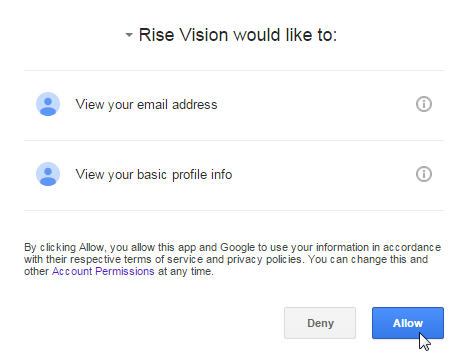
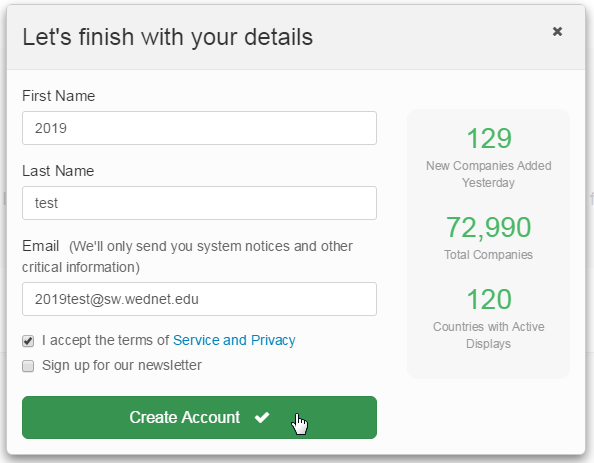
- On first login, complete the account details.
- Allow Rise Vision to access your basic Google account details (who you are)
Editing Schedules
Features
- A schedule can be governed by time and date
- A schedule can affect all displays or a subset of displays
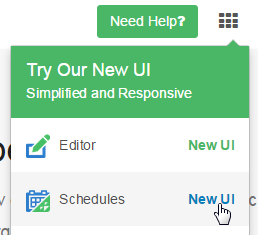
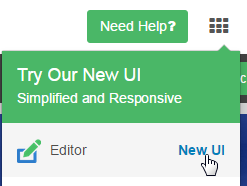
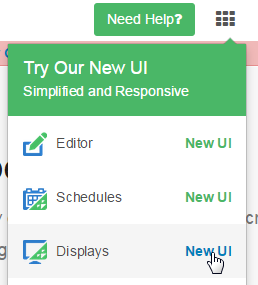
- Open the Beta version of the Schedules editor
 OR
OR 
- Add a Schedule
- Edit a Schedule by clicking on it's name
- Give your schedule a descriptive name

- Choose when the Schedule is active
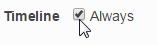
- Select "Always" for all the time
- Uncheck "Always" to choose a specific date range and specific time range as well as recurrence schedule
- Choose the displays that this schedule will show on
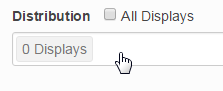
- Select "All Displays" to have this Schedule appear on all displays for your building
- Click on the white box to choose select displays from your building
Editing Presentations
- Open the Beta version of the Presentations editor
 OR
OR 
- Add a presentation by clicking on the button. You can choose from templates or start from scratch

- Edit a presentation by clicking on the title
Change the background of a presentation
Changing the background is the easiest method to create a seamless segmented presentation.
Design your background in a raster image editor such as Photoshop, Gimp or Paint.NET

Your image needs to be 1920 by 1080 pixels
- Upload your background image to a publicly accessible web server such as SchoolWires
- Edit a presentation
- Click on the Gear icon next to the title of the presentation

- Select "Use Image" under the Background header
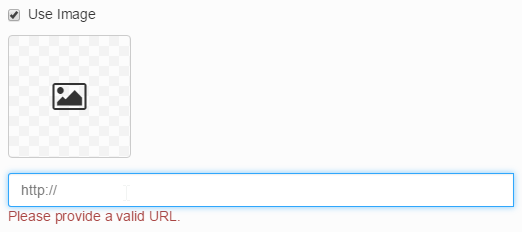
Provide a URL to the image

Presently, we do not pay Rise Vision to use their Storage App (the icon next to the URL box). You will need to upload your image to a publicly accessible web server for it to show.
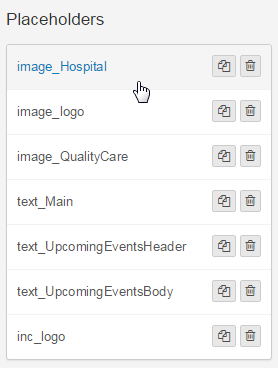
Adding or editing Placeholders
- Select the Placeholder from the list or click on it in the preview window
 OR
OR 
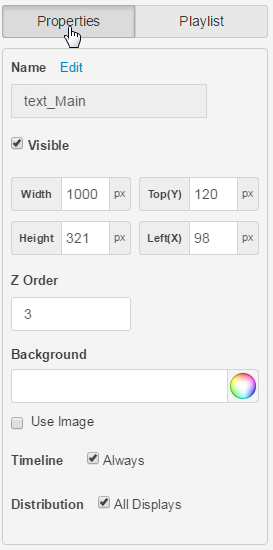
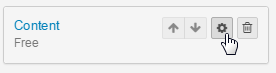
- Edit properties like name, background, stacking order (Z Order) on the Properties tab
- Edit what content is displayed in the Placeholder on the Playerlist tab

- Edit the name, duration, of the widget by clicking on it
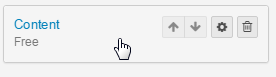
- Edit existing content using the Gear icon on each item in the playerlist OR click the content link in the edit playlist item dialog box
 OR
OR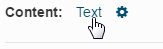
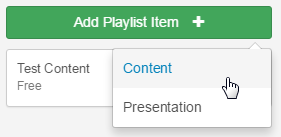
- Add more items to a placeholder to have the content change with time
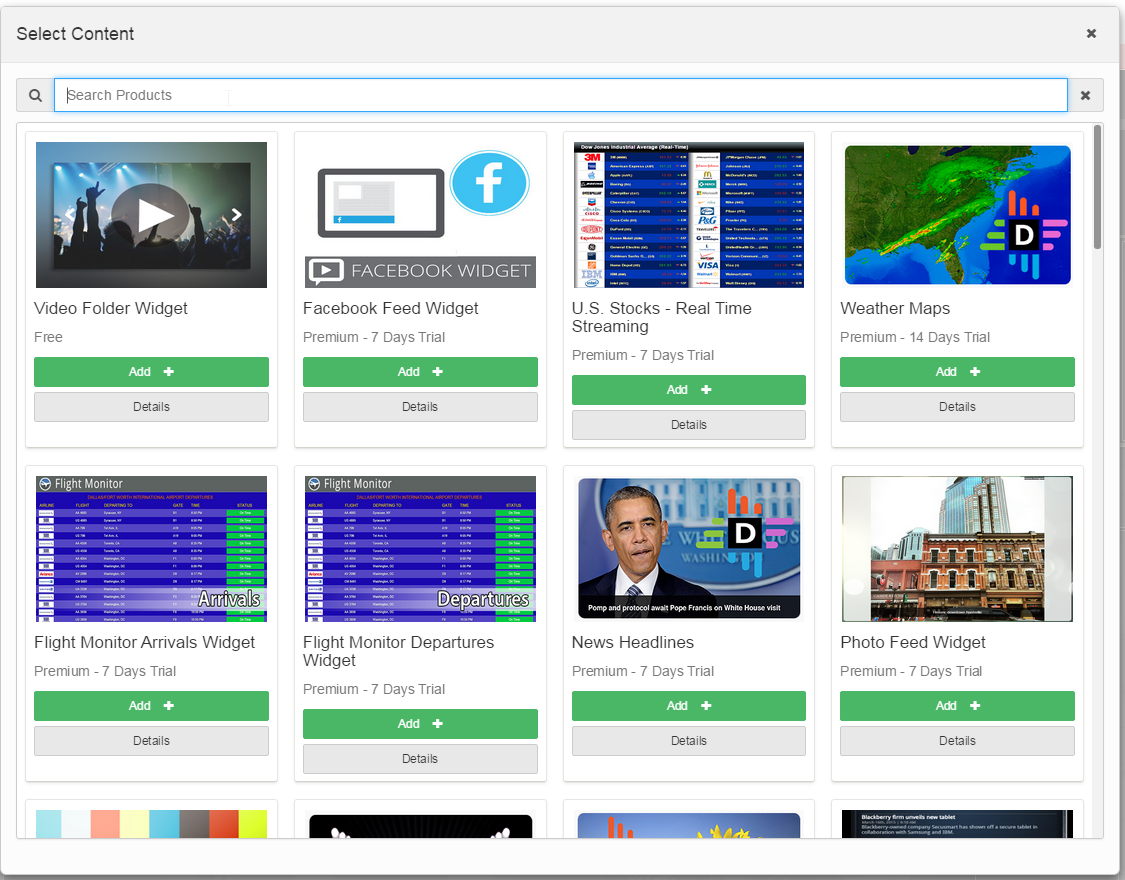
When adding content, you'll choose from the window shown

Some items cost money. You won't be able to use those which cost money. You also won't be able to use any widget that uses Rise Storage. Such as Video Folder and Image Folder
You can use the search box to narrow your search. Basic content widgets include: Text, Image, Video, Google Calendar
Adding or editing text widgets
Open the widget editor dialog box using the instructions for editing Placeholders
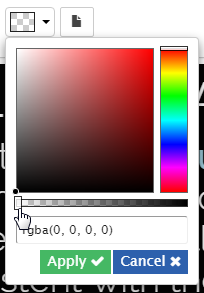
The background for the editor box is white. To view white or other light colored text, you will have to highlight it or change the background color.

If you change the background of the text with
 if will change on the published presentation.
 It's recommended that you change the background color to transparent before saving:
Edit your text in the box
- Click Save

Adding or editing image widgets
- Open the widget editor dialog box using the instructions for editing Placeholders
Enter the URL for the image you want to show
Presently, we do not pay Rise Vision to use their Storage App (the icon next to the URL box). You will need to upload your image to a publicly accessible web server for it to show. Instructions for such a task fall outside the scope of this document. Example: SchoolWires

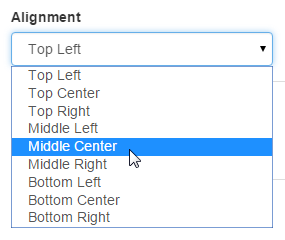
- Choose your alignment
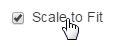
- Choose whether you want to scale the image (both up and down)
- Click Save
Adding or editing Google calendar widgets
- Open the widget editor dialog box using the instructions for editing Placeholders
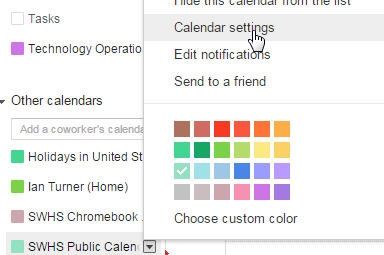
Open the calendar settings for the calendar you want to display
You need to have permission to share the calendar with the public

- Copy the Calendar ID

- Paste the Calendar ID

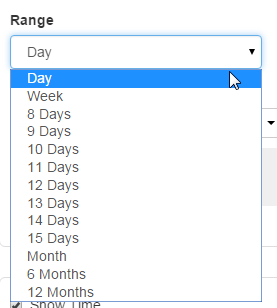
- Choose the event search range
- Choose whether to show the time, title, location and/or description
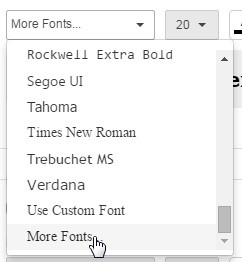
Choose your font settings
SWSD branding uses Vollkorn for titles and Source Sans Pro for body text
You can use these by going to More Fonts
Click Save
Previewing your Presentation
Save your changes
Your changes are not "Live"/visible on displays until you Publish

- Click on Preview
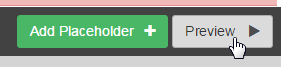
A new Tab/Window opens with the preview
You can leave this window open and skip step 2 next time by refreshing the preview tab.
Discard changes to last published version
- Click on Restore to revert to the last published version of the presentation

Editing Displays
For the majority of users, you will never have to edit a display
- Open the Beta version of the Displays editor
 OR
OR 
- Edit a display by clicking on it
Related articles
-
Page:
-
Page: