Adding a Networked Printer
As a staff member, you may need to print to multiple destinations. Most destinations will not be configured for you by IT so the following instructions will show you how to add a destination yourself.
Video Tutorial
Step-by-step guide
- Open the start menu:

- Click on Settings:

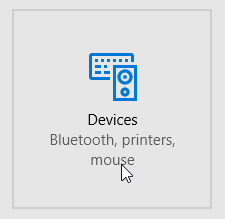
- Click on Devices:
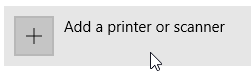
- Click on Add a printer:
- Wait for the list to populate
Find the printer destination you want in the list that is shown, for example the HS Copy Room Copier, then click on it:
 The list of printers is not in alphabetical order. You will need to read the whole list to find your desired printer.
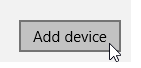
- Click on Add device:
- Wait for the driver to download and install.


- After it completes, the printer will be ready:

These screenshots and instructions are for Mac OSX 10.10 Yosemite. They may differ in appearance and wording depending on the version of OSX your computer is using.
Step-by-step guide
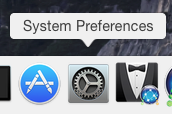
- Open System Preferences:
- Open Printers & Scanners:

- Click the Plus in the lower left hand cover under the list of printers:

- In the list that is populated, find the printer with the designation "Open Directory" that you want to print to:

- Under Use, click on Choose a Driver...:

- Look up your printer/copier model and click Select Software...:
- HS Copy Room Copier (Kyocera TASKalfa 8002i)
- HS Library Copier (Sharp MX-M364N)
HS Library Copier Staff (Kyocera TASKalfa 4500i)


If your model is not found, click Generic PCL Printer
- Click Add

- After the setup process is complete, you can set your default printer by right click/control click on the printer in the list and choosing Set default printer.

- The first time you print you will be prompted for a username and password. Enter the following:
- Username: SWSD\<username>
- Password: Windows domain password.
Printers for ChromeOS, Android and iOS are managed centrally. Please open a support desk ticket to alter printers on these platforms.
Step-by-step guide
- Open the start menu:

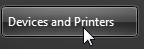
- Click on Devices and Printers:
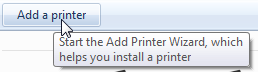
- Click on Add a printer:
- Click on Add a network, wireless or Bluetooth printer

- Find the printer destination you want in the list that is shown, for example the HS Copy Room Copier:

- Click on Next:

- Wait for the driver to download and install.
- At the success screen, click next:


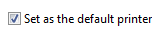
- If you want this print destination to be your default, make sure the checkbox is checked:
- Click on Finish:

Related articles
-
Page:
-
Page:
-
Page:
-
Page:
-
Page: